Spiced Apple Muffins
Having started up a new business in the catering trade I am developing a range of baked goods and desserts that I hope my customers will enjoy. This recipe was inspired by the abundance of apples coming from my mother’s apple tree. She presented me with a bag of apples and asked me to bake an apple crumble. Then a few days later came another bag of apples so I did a bit of research and found a basic apple muffin recipe which I have adapted.
These muffins come out light and fluffy with a nice contrast between the tart apples and the warmth of the spices. A good basic muffin recipe that can be adapted as the seasons change and new fruits become the star of the show!
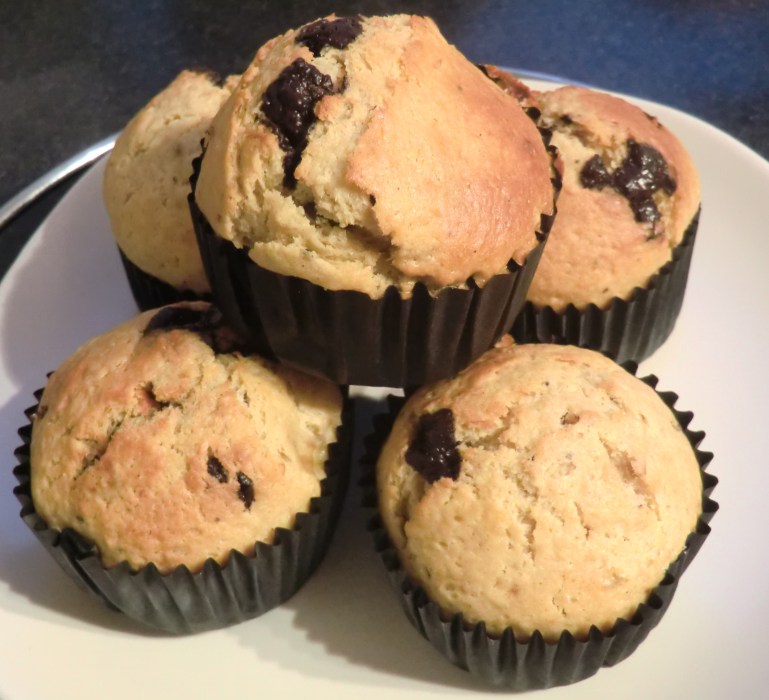
I started off adding cardamom to the muffins as it is my ‘go to’ spice for baking.
Apple and Cardamom Muffins
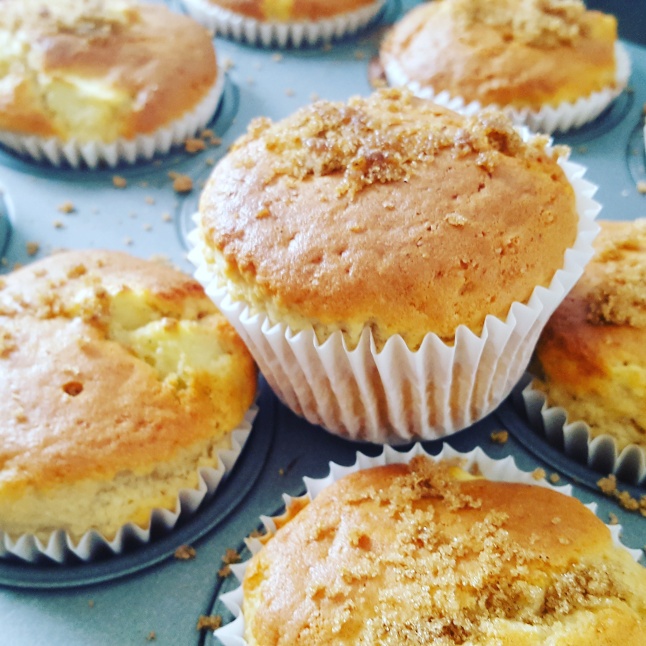
Then I got some feedback from customers and it seems that cinnamon is much preferred! It was also suggested that I put in more apples, so with a lot of home grown apples to use up I happily obliged! 🙂
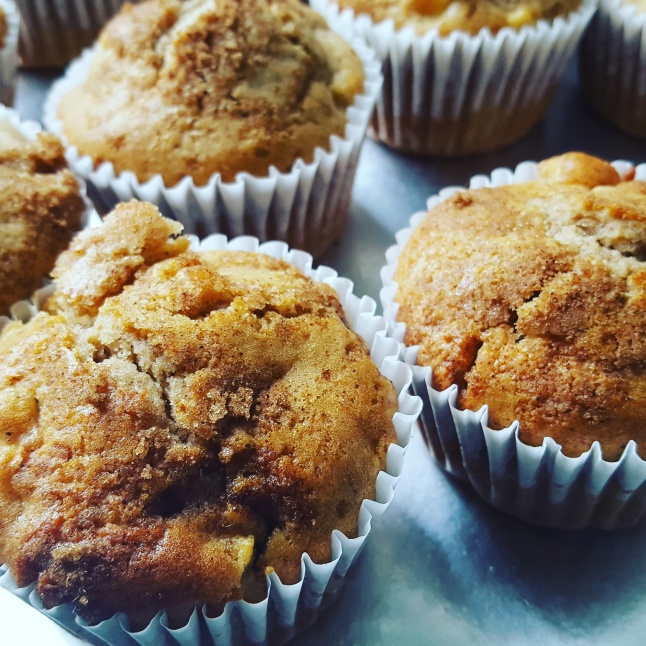
Apple and Cinnamon Muffins
To add some extra texture and additional flavour hit I added a spiced sugar on top of the muffins. As there is little sugar in the cake itself, the sugary top really helps to bring an extra dimension of flavour. On the cardamom spiced muffins I added the sugar topping at the end of baking but with the cinnamon version it was added as soon as the muffins went to the oven. The latter worked out better…
Ingredients:
- 200g plain flour
- 100g soft brown sugar
- 2 teaspoons baking powder
- 90ml milk
- 80g baking margarine
- 2 medium eggs, beaten
- 2 tsp of ground cinnamon, cardamom or whichever spice you choose!
- 2 large apples – peeled, cored and chopped
- Spiced sugar (2 tbsp brown sugar with a tsp cinnamon/cardamom mixed in)


Method:
- Beat the eggs, sugar, milk and baking margarine together
- Add the flour, baking powder and ground spices then fold in until just combined
- Add the apples and gently fold so you avoid over-mixing and creating a chewy texture
- Spoon into muffin cases until 3/4 full and top with a sprinkle of the spiced sugar
- Bake at 200 degree C for 15 minutes or until golden brown on top (check with a skewer that it is cooked all the way through


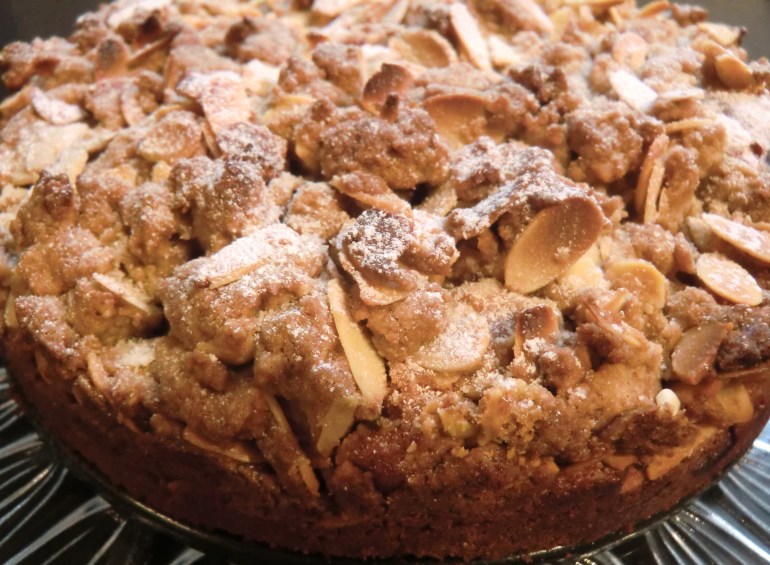
And if you have any apples left over make an apple crumble! Here’s one I made earlier…
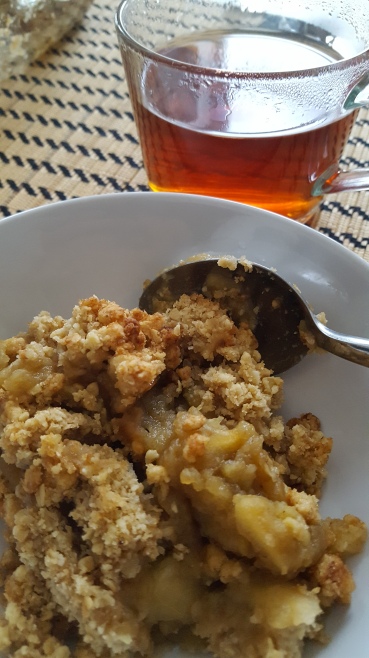
Apple Crumble