Salted Caramel and Chocolate Cake with Salted Caramel Truffles
This celebration cake was baked in honour of a friend and colleague who is moving on to a new challenging role with another equally deserving charity. We had planned a surprise party for her in the office and as always a centre piece cake would be there. We have another colleague who is always asked to make the special celebration cakes as she is wonderful at sugar craft and can model the most amazing figures, making the most jaw dropping cakes that are tailored to the lucky person it is intended for. Unfortunately she wasn’t able to help out this time so I was asked to make the cake instead. What a daunting task! I like to bake but only as a hobby and I’ve found baking under pressure to be so stressful!
I thought for days about what kind of cake to make. I wasn’t even going to attempt any kind of sugar craft as I have never done anything like it before and I wasn’t about to start now! I was also putting extra pressure on myself because I really want this cake to look delicious and inviting, maybe even a little glamorous?! No pressure! 🙂
The Cake
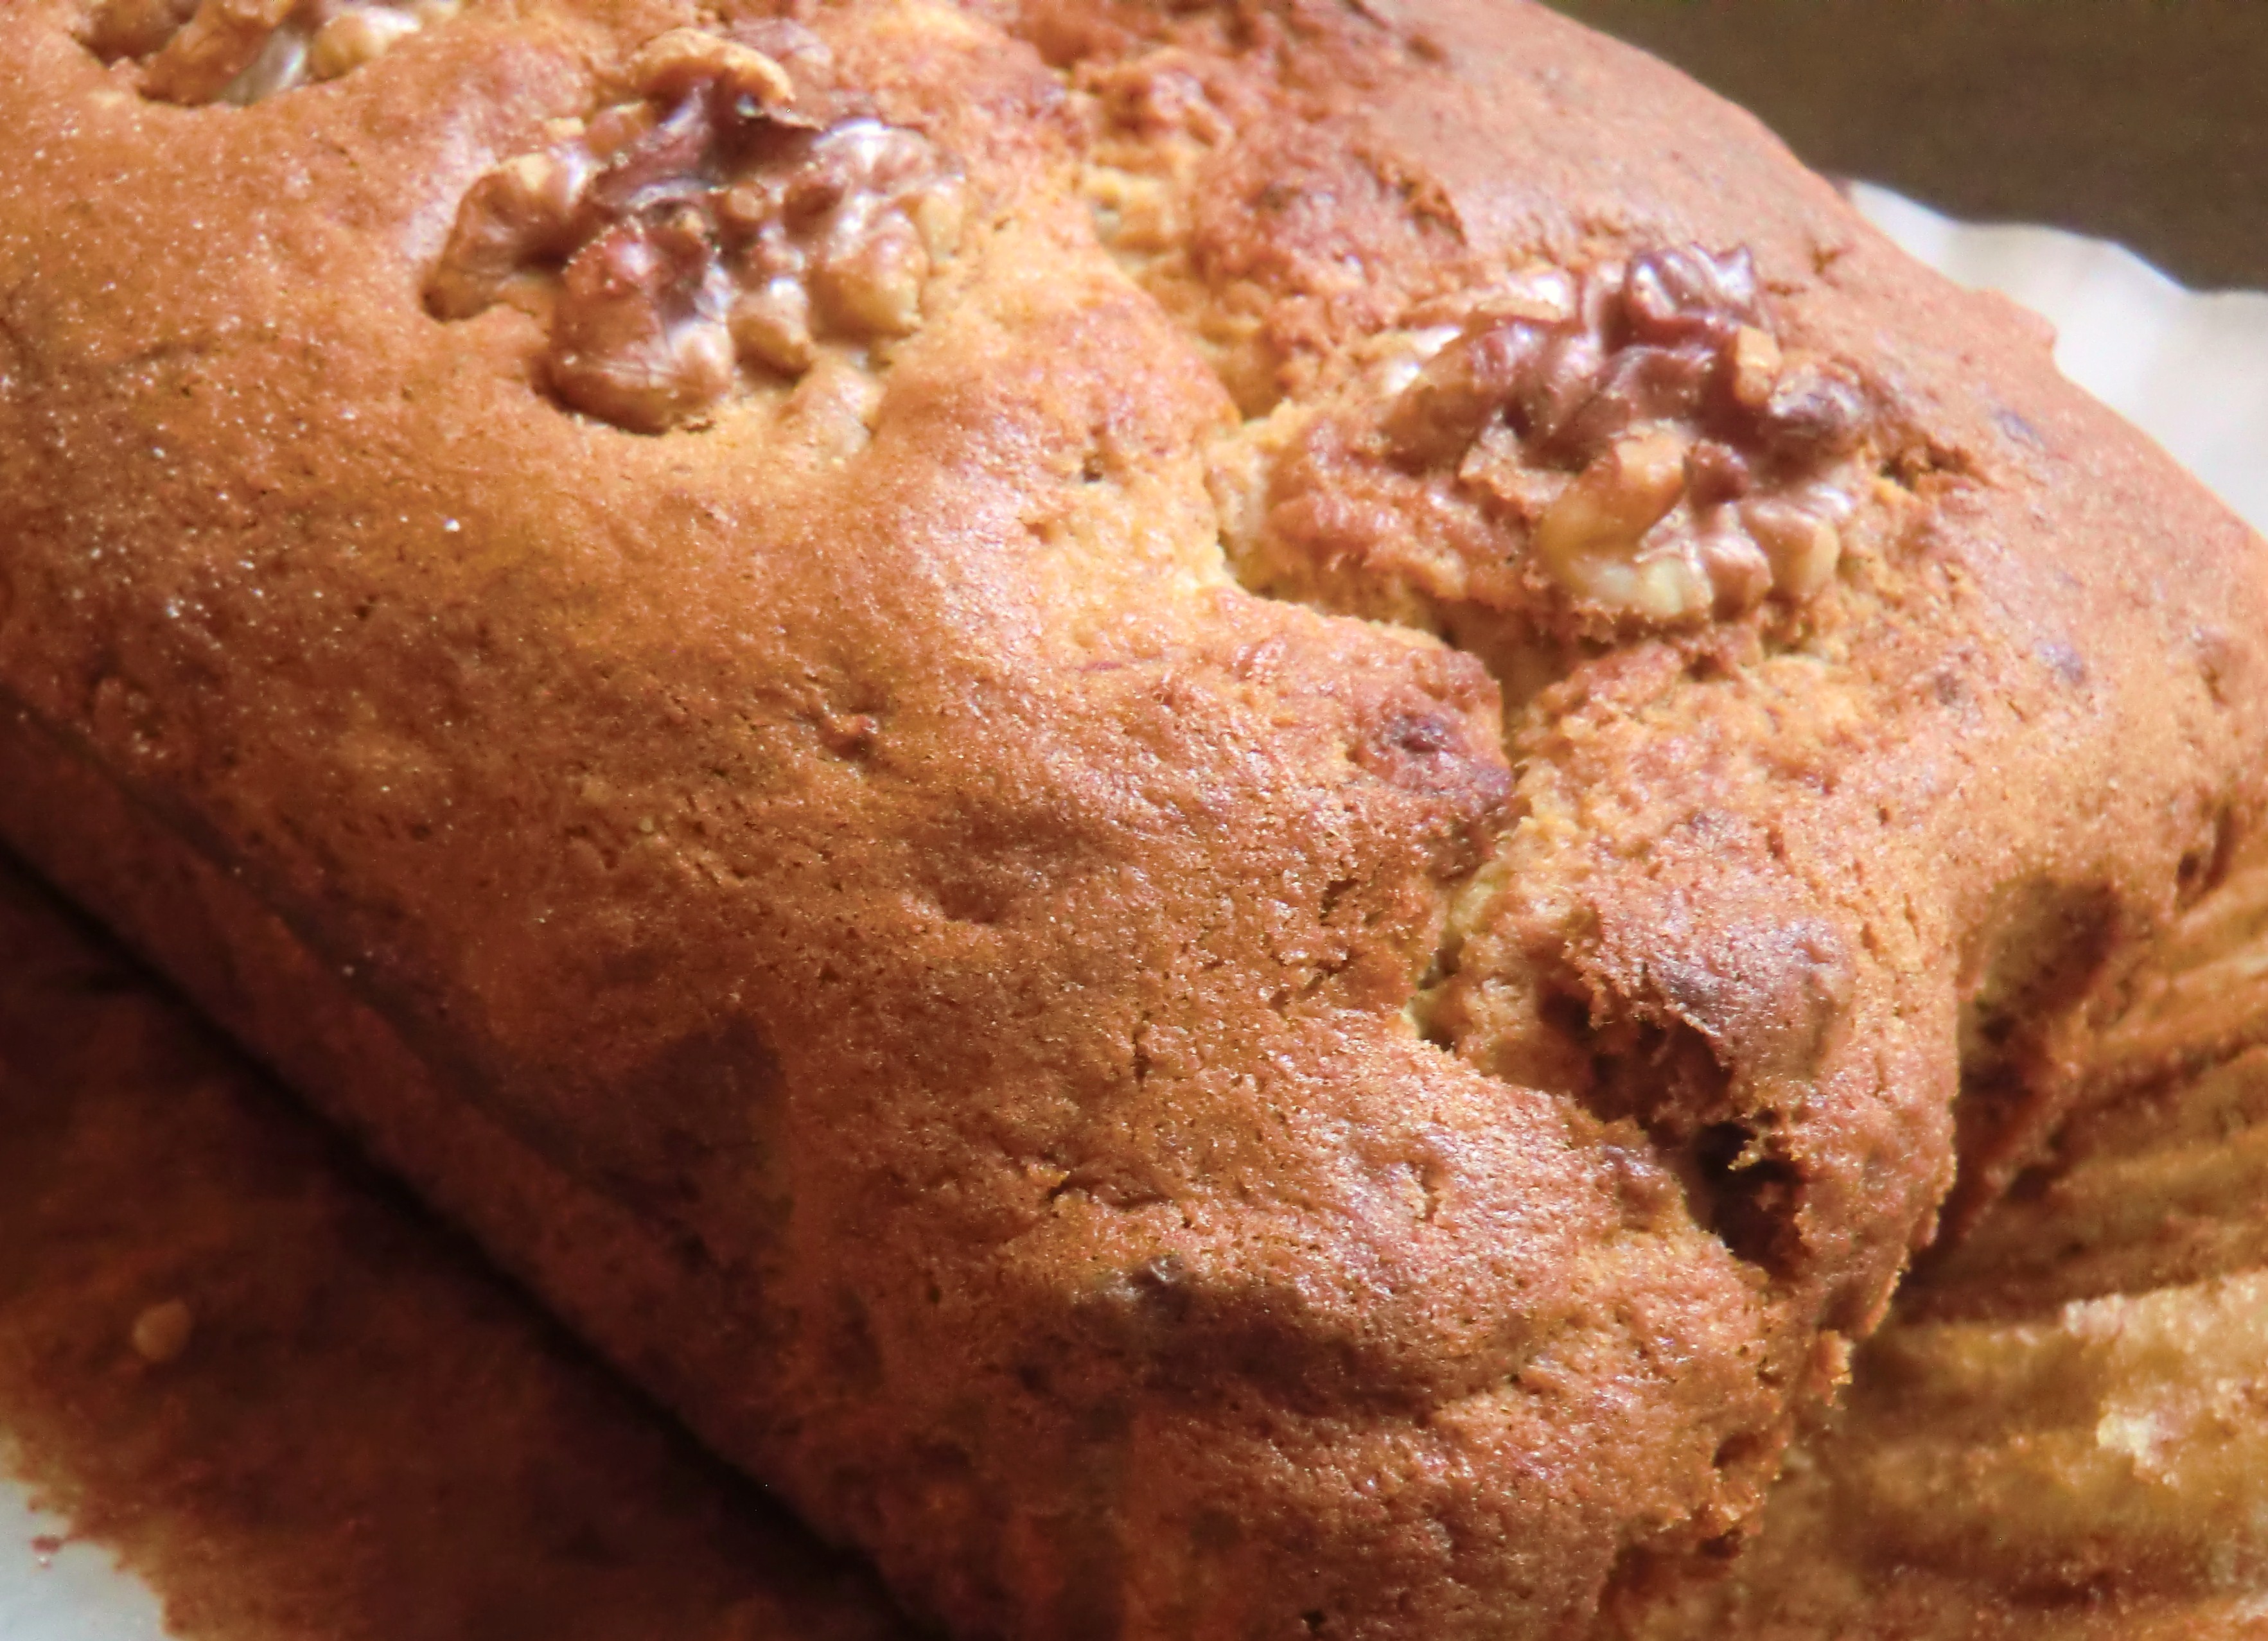
After a lot of too-ing and fro-ing I settled on a basic chocolate fudge cake recipe that I had scribbled down off a friend’s mum. She had made their wedding cake using this recipe and it was absolutely delicious! I remember going back for a second slice because it was the tastiest wedding cake I had ever had and it was home made! The original recipe uses fresh cream and black cherry jam for the filling, so being a ‘black forest’ cake fan it was obviously going to be a winner for me!
This is the basic recipe for two thin 20 cm round cakes:
Ingredients
- 175 grams Self Raising Flour
- 2 tbs Cocoa Powder
- 1 tsp Bicarbonate of Soda
- 150 grams Caster Sugar
- 2 Eggs
- 150ml Sunflower Oil
- 150ml Milk
- 2 tbs Golden Syrup
Method
- Beat all ingredients together
- Bake in two sandwich tins at 170 degrees C for 25 minutes
You can’t get much simpler than that right!
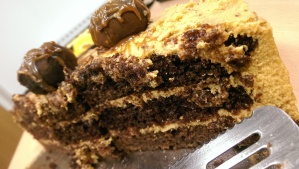
The challenge I had was to up-size the recipe for a 30 cm cake tin and have two layers. So I figured that I would double the recipe and see how it turns out. Luckily the recipe worked well all baked in 1 cake tin but I needed to bake it for about 40 minutes in total. I decided that the cake didn’t rise enough to make a two layer cake, so decided to do another batch. I decided upon cutting both cakes in half but only using 3 tiers as 4 was just too high! So with the additional layer I cut it up using a round mould and have put them in the freezer for future mini cake adventures…

Salted Caramel Truffle Cake
The Frosting
As I am going through a stage of experimentation with salted caramel, I decided that this grown-ups party would be the right time to use salted caramel to the max! So I found a few salted caramel butter cream recipes and settled on this Banana Cake with Salted Caramel recipe for inspiration. Mainly because the cake in the picture looked similar to what I wanted to achieve so I figured that I could stick to the proportions of ingredients and have enough to frost the whole cake. It is also a fairly easy recipe to follow.
After watching the sugar syrup boil for ages, I figured that the recipe could be adapted a little to have less water so this stage need not take so long, but would this then affect the quantity of caramel? I decided that this is something to experiment with another time… As I only had unsalted butter, I added a teaspoon of sea salt to the caramel along with the cream to give it the signature taste.
I struggled a little with this recipe as it tells you to ‘Beat the cooled caramel cream using an electric beater until fluffy’, warning that ‘his step takes a while, so be patient’. So I kept the mixer beating the caramel and nothing happened… 15 minutes later I gave up and just started adding the butter. The frosting was actually very runny so I decided to add another half block of butter to the bowl and some icing sugar too the thicken it up and it seemed to work. I also put the frosting into the fridge to harden a little as it was still fairly runny.
This frosting is ideal for people who like buttercream but find it a little too sweet. The caramel flavour is very strong and is a great choice for grown-ups. I also like the natural caramel colour of the frosting as a lot of buttercream recipes require artificial colourings to make them a look nice, so all in all this recipe is another keeper!

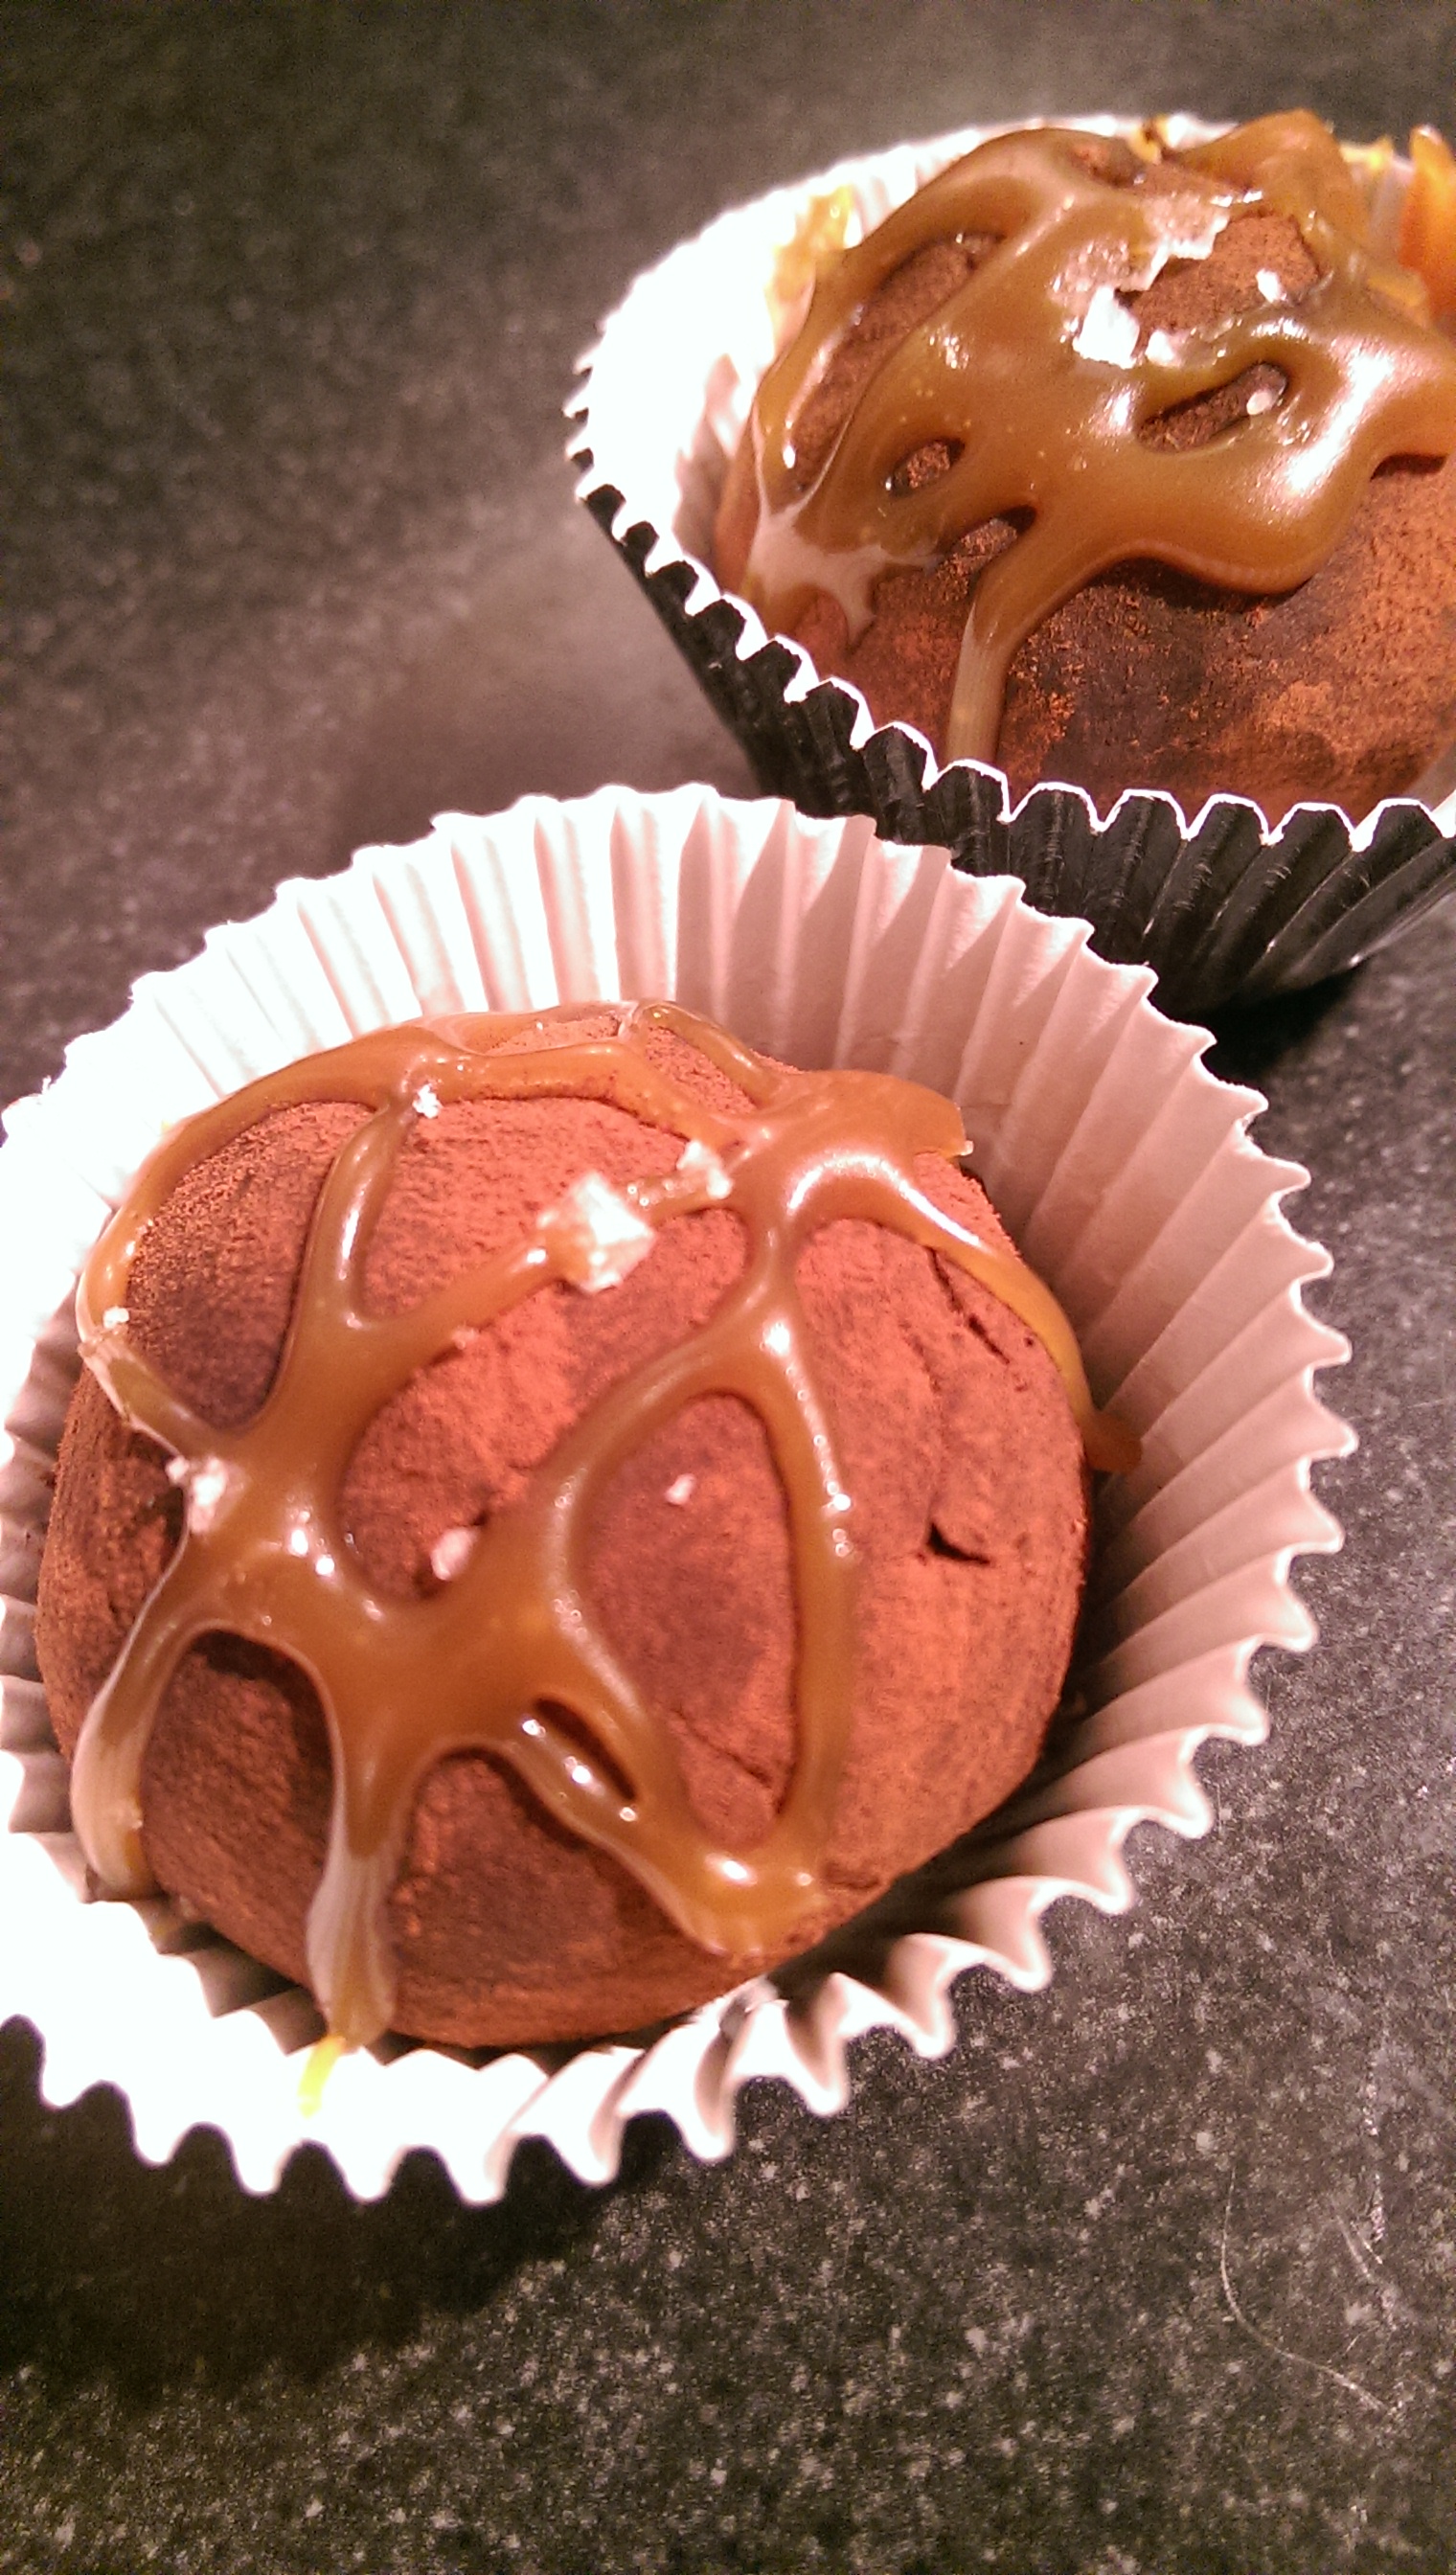
Salted Caramel Chocolate Truffles
The Decoration
Looking on the world wide web for inspiration on how to decorate this cake I decided to make some Salted Caramel Truffles to go on top. For a previous cake I had made profiteroles but I wasn’t too happy with the finishing look, and making these profiteroles was only going to add to my stress levels! The Salted Caramel Truffles were ideal as I could also use the recipe for making Christmas food gifts if they turned out OK.
So after frosting the layers of the cake and decorating the top with truffles and drizzles of left over caramel sauce, the cake was complete! I am slightly disappointed that you can see some of the cake crumb in the frosting, I must have over-baked it so must keep an eye on this next time. As I’m not very good at being precise and ‘pretty’ isn’t really my style, I went for the ‘messy look’. I think I got away with it!
Salted Caramel and Chocolate Cake with Salted Caramel Truffles
The Verdict
I’m pretty happy with the final product. I got lots of compliments and people even took extra slices home, always a good sign! From the little that was left of the cake, I could tell it was well appreciated! I’ve finally been able to get the cake to slice evenly thanks to a new kitchen gadget I picked up from a local shop but similar to this Amazon product. It only cost me £3 and gives such a perfect professional finish! The cake itself was moist and light, while the frosting wasn’t too sweet. I even had some left over truffles to enjoy too!
A winner all round… 🙂