Quesadilla: A Cracking Good Food Session

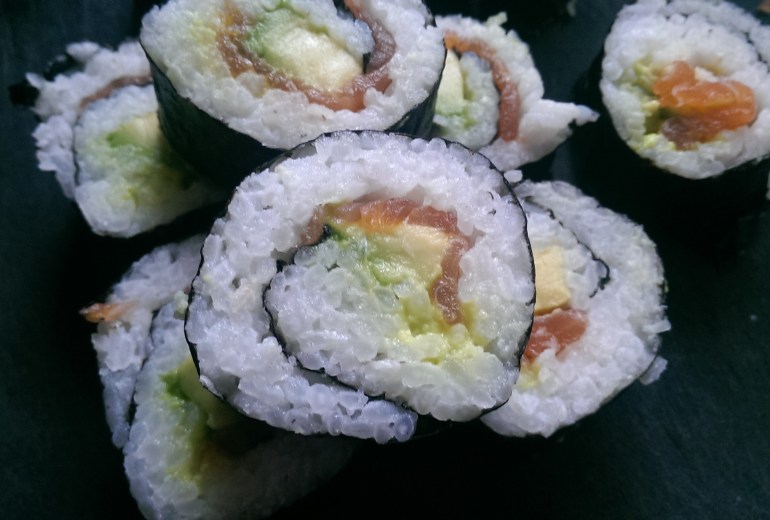
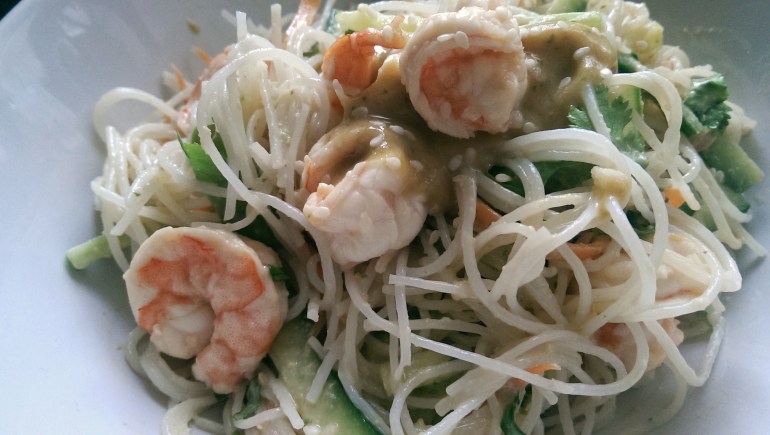
Quesadilla and Salad
According to Wikipedia, a quesadilla is “a flour tortilla or a corn tortilla filled with a savory mixture containing cheese, other ingredients, and/or vegetables, cooked often on a griddle, then folded in half to form a half-moon shape”. Or as the Cracking Good Food Cooking Lead called it “fancy cheese toasties”.
Stuffed flat breads are available the world over, in various forms and flavours, so are a fairly good way to introduce people to new flavours and foods without it seeming too different from what they may be used to. In the UK, a ‘cheese toastie‘ is, in its’ purist form, two slices of bread with some cheese in between them and grilled until the bread has crisped up and the cheese all gooey inside. There are of course lots of variations to these fillings, my personal favourite being cheddar cheese, mushrooms and chilli flakes! Even thinking about it makes my mouth water…
Cracking Good Food is a community cooking network promoting cooking from scratch, and using sustainable and seasonal ingredients. So for this session we were showing older people how to use store cupboard ingredients and left overs to create tasty quesadilla in less than 30 minutes. I guess the significance of the session being for older people was that it was the main age group the client worked for. When chatting with some of the participants, some were nervous of cooking recipes that hadn’t been taught by their mother/grandmother. Whereas others were keen to try new recipes from different world cuisines. The ease of this dish means that it is open to anyone who wants to create their own tasty meal, especially those on a tight budget or wanting to reduce their food waste by using up bits of left overs in the fridge.

Quesadilla, Hot Salsa and Salad
Using ready made large wheat flour tortillas, and created an easy version of ‘refried beans’, sweet potato filling and a hot tomato salsa. I’m going to share these recipes from memory as I forgot to pick up a recipe sheet!
The fillings and salsa dip use the same base flavour ingredients which helps bring synergy to the dish but also means there are fewer ingredients to buy for people living on a tight budget, as well as reducing the numbers of spices being left to go stale in the cupboard!

Refried Beans
Refried Beans
Ingredients:
- 1 can of black eyed beans (rinsed)
- 1 can of pinto beans (rinsed)
- 1 medium red onion (finely diced)
- Small bunch of fresh coriander (finely chopped)
- 2 cloves of garlic (minced)
- 1 tbs olive oil
- 1 tsp ground cumin
- salt and pepper to taste
Method:
- Heat the oil in a large, deep sided, frying pan and fry the onions and garlic until lightly browned.
- Add the cumin and all the beans, simmer for 10-15 minutes. Add water if it is looking too dry.
- Once ready, add salt and pepper and coriander and give a final stir through.

Hot Tomato Salsa
Hot Tomato Salsa
Ingredients:
- 1 can of chopped tomatoes (use chopped fresh tomatoes if preferred)
- 1 medium red onion (diced)
- 1 large sweet red pepper (diced)
- 1 tsp chili powder
- 1 tsp ground cumin
- 1 small handful of chopped fresh coriander
- 2 cloves garlic (minced)
- 1 tbs olive oil
- Salt and pepper, to taste
Method:
- In a medium saucepan heat the oil and slowly fry the onions and garlic until lightly browned
- Add the sweet red peppers, tomatoes and spices. Simmer over a low heat until you get a smooth paste like texture, about 10 minutes.
- Season with salt and pepper and sprinkle with coriander before giving it a final stir through
Spiced Sweet Potato filling
Ingredients:
- 3 large sweet potatoes (cubed)
- 1 medium red onion (diced)
- 2 cloves garlic (minced)
- 1 tsp ground cumin
- 1 tsp ground smoked chipotle chili (or any chili powder)
- salt and pepper, to taste
Method:
- In a large saucepan, boil the sweet potato until softened then drain the potatoes, saving some of the water for later. Roughly mash the sweet potato leaving some big chunks for added texture
- In a medium saucepan heat the oil and slowly fry the onions and garlic until lightly browned, then add the spices
- Add the mashed sweet potato to the spices onion and garlic and stir until thoroughly combined. Add some of the saved potato water to the mix so it doesn’t stick to the bottom of the pan. Warm through but do not overcook.

Quesadilla
I’m not going to go through the steps of how to put together a quesadilla as there have been some great people before me who have already published step by step guides, so please refer to them.

Quesadilla and Salad
Going back to the ‘cheese toastie’ comparison, the only other ingredients you need are the bread and the cheese. So get your tortillas and some of your favourite cheese and start building your tasty quesadillas… and you don’t need to be over 55 to enjoy them! 😉