Following on from the previous post on Macau/Portuguese Custard Tarts I would like to share with you another dish from Macau, China.

Macau ‘Portugeuese’ Baked Chorizo and Chicken Rice
This ‘Portuguese inspired’ dish is well known throughout Macau and Hong Kong but will probably never be found in Portugal! It’s similar to a pilau, paella or risotto, as it is mainly based but flavoured with spices and containing some form of meat/fish and vegetables. There are lots of variations to this dish but they are usually topped with grated cheese and finished off in the oven to get the crispy top. Cheese and rice may sound a little strange at first, but then again isn’t parmesan a main ingredient in the finishing of a risotto?
So this is my mum’s recipe, not sure where she got it from though… It makes enough for 6-8 people!
You’ll need 3 pans, one large casserole dish, one medium saucepan (for the chicken) and one large saucepan (for the rice)
Ingredients:
- 4 chicken leg quarters
- 4-5 bay leaves
- 10 whole cloves
- Salt and pepper to taste
- 250g spicy chorizo (chopped into 1cm rounds)
- 2 medium white onions (chopped into small pieces)
- 2 tsp Oil
- 300g white rice (washed and ready to steam)
- 4 whole eggs
- 100g grated cheese ( I used extra mature coloured cheddar)
Method:
- Put chicken legs , bay leaves , a pinch of salt and the cloves in a covered pan of boiling water and simmer for 20 minutes then turn off the heat, leaving the pan to one side so the chicken soaks up the flavours of the stock. The chicken should be left to steep for at least 2 hours so it takes in the flavours. Start preparing the next step…
- In a large sauce pan sauté the white onions for a couple of minutes in the cooking oil then add the chopped chorizo and sauté for a few minutes. The paprika from the chorizo will colour the onions nicely and the chorizo fats will also start coming out. This is good as it will help to colour and flavour the rice.
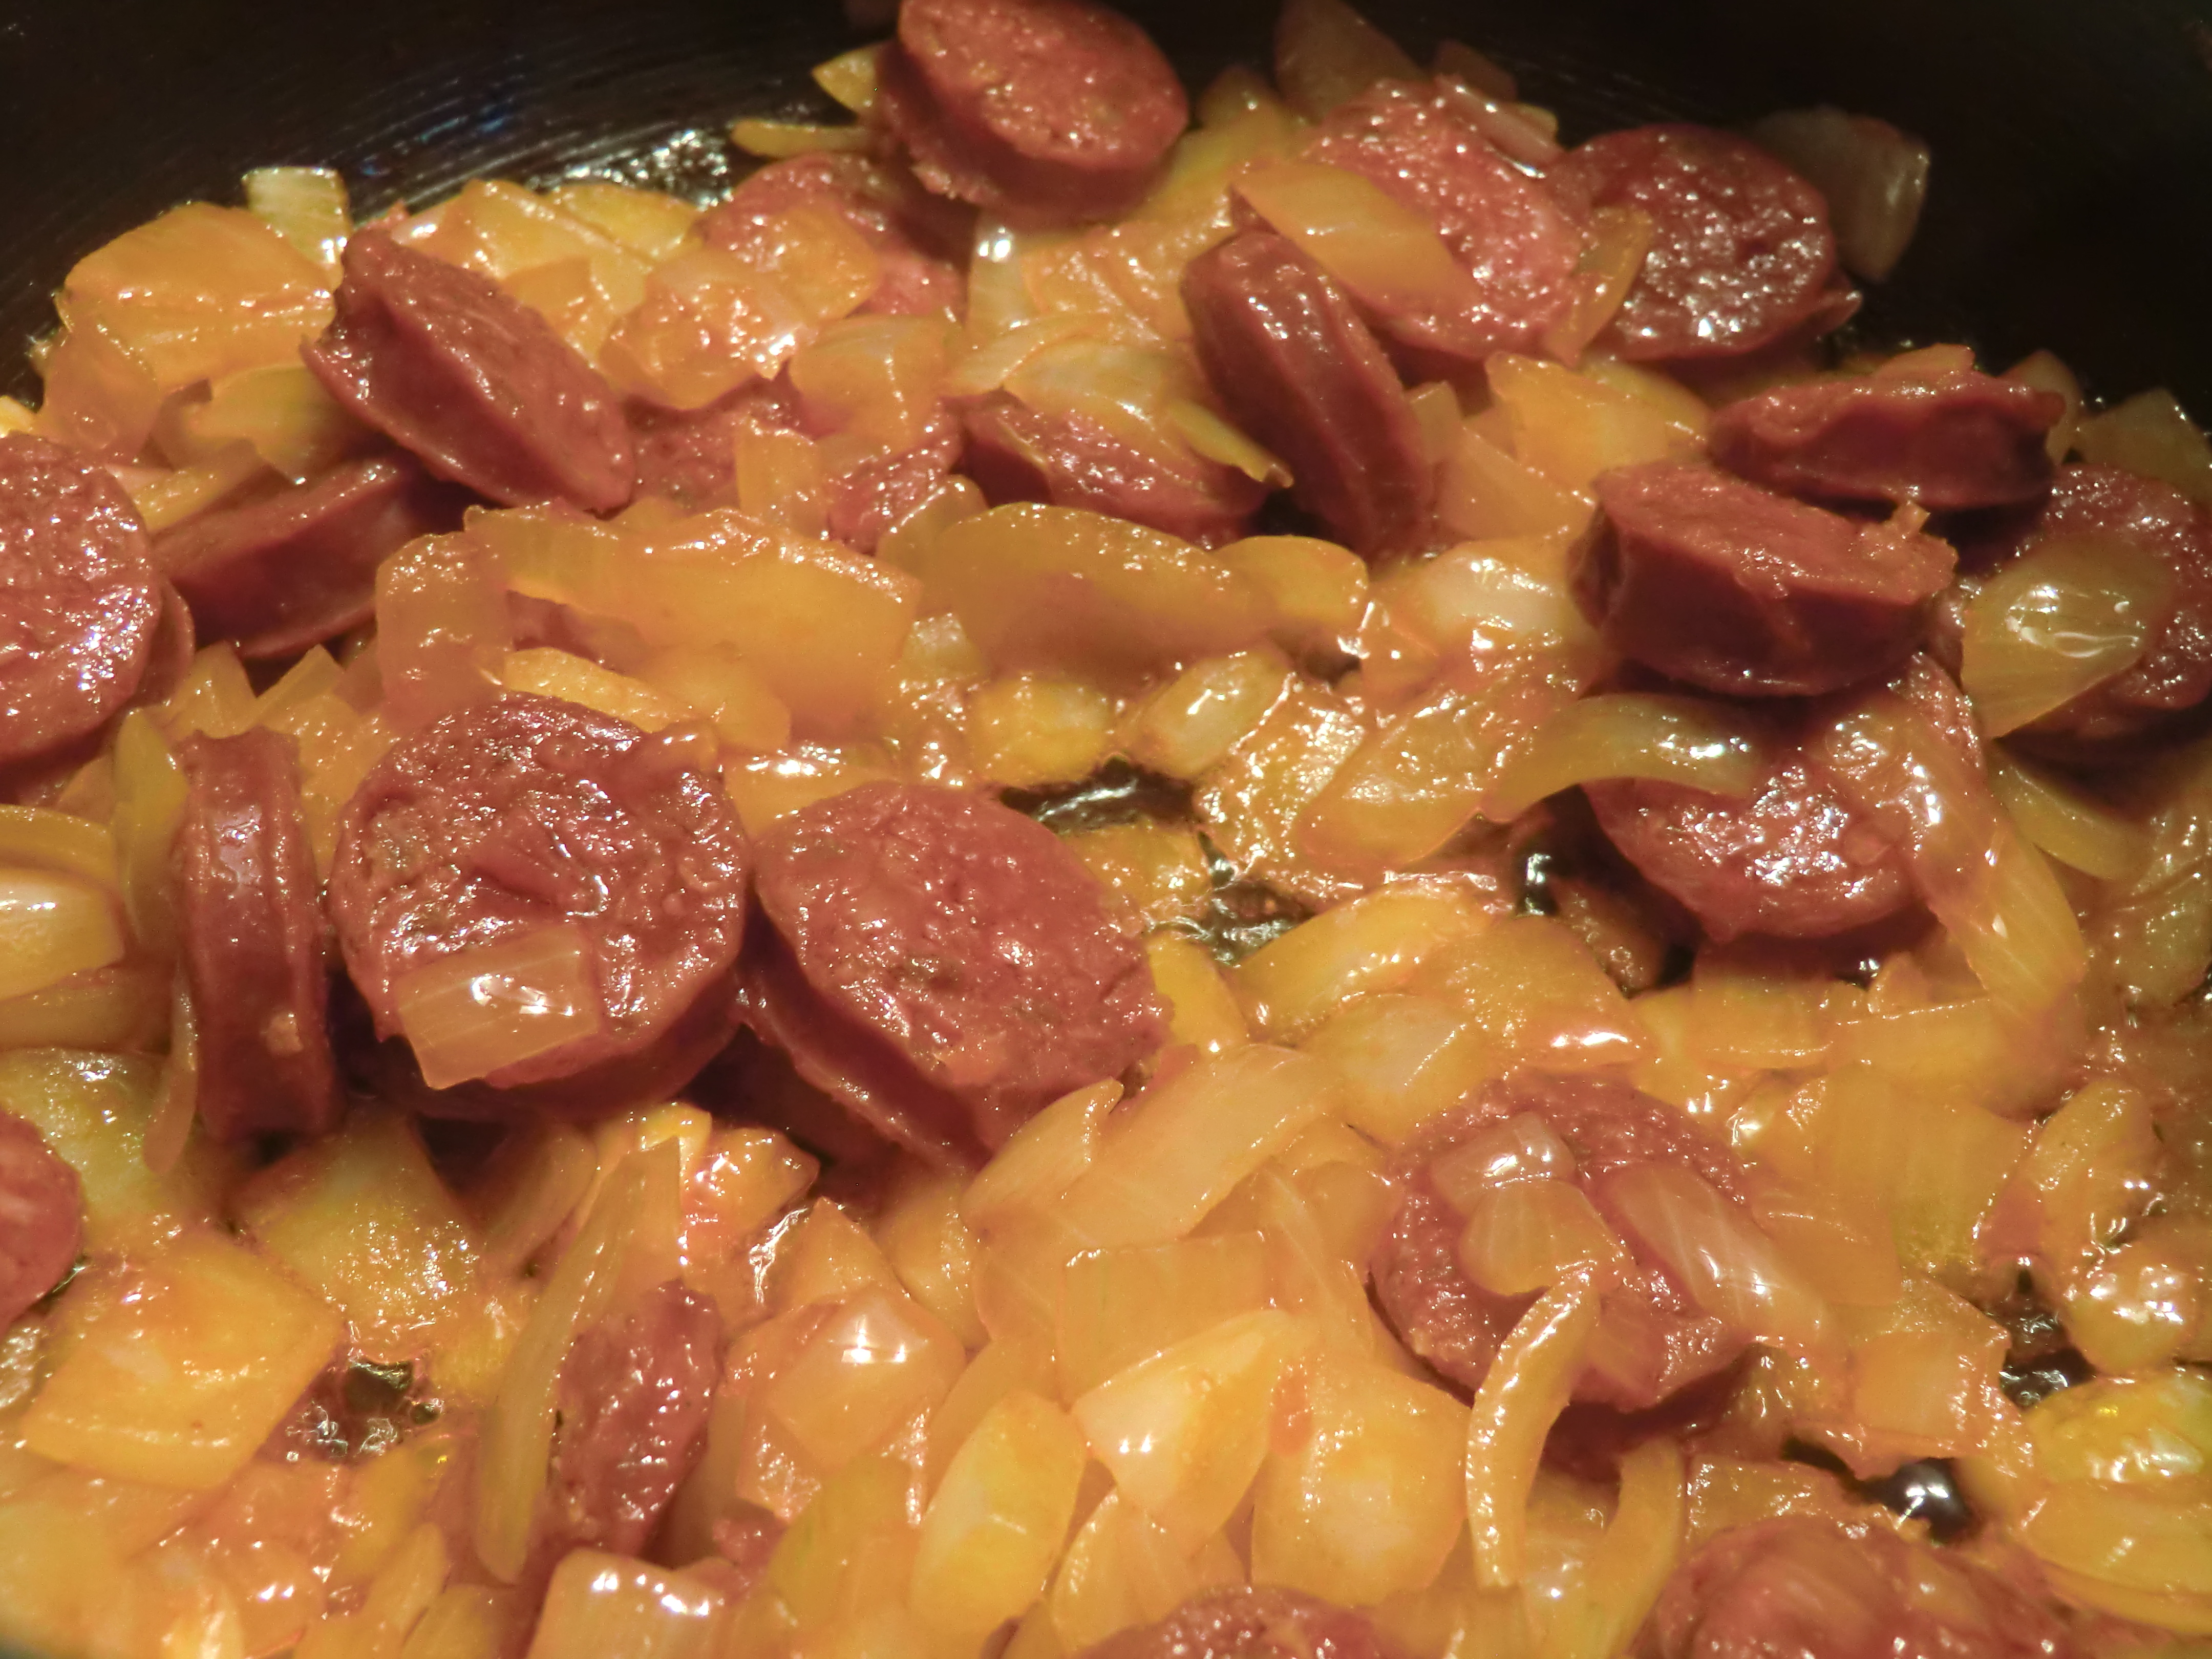
Sauted Chorizo and White Onions
- Add the washed rice to the chorizo and onion mix and enough water so that the rice can be cooked without having to drain left over water out (using the absorption method). Add salt and stir it all up so the flavours are evenly distributed.
- While the rice is cooking, boil the eggs in their shells. Set the cooked rice and the hard boiled eggs to one side.
- Return to the cooked chicken. Drain off the liquid discarding the bay leaves and cloves. Shred up the chicken into bite-sized chunks.
- Fluff up the cooked rice and chorizo and put 1/3 of it into the bottom of a large oven safe casserole dish.
- Then add 1/3 of the cooked chicken onto of the rice. Repeat the layering of the rice then chicken until you’ve used it all up.
- Peel the eggs and cut in half (length ways) and push them into the top of the rice so they are sunken in.
- Scatter the grated cheese on top of the whole pot of rice and put into the oven to bake. I baked it at 200 degrees C for 15 minutes. The aim is to crisp up the rice at the top and melt the cheese, not to heat everything up as the rice should still be quite hot.

Yummy cheese ready to be melted and crispen up
This dish is a meal in itself, so serve in big bowls for lunch or as part of dinner with some other tasty morsels to pick at. I served this dish in the middle of the table with chicken pot-stickers and the braised duck with pickled cucumber and spring onion pancakes so there was a variety of things to nibble on.
As the chicken is braised over a long time it soaks up the flavours from the loves and bay leaves. The rice takes on the paprika from the chorizo too so this dish is packed with mouth-watering flavour! It seems like a bit of a complicated dish to make but it’s actually quite simple, you just need to be organised with your time! I’ve seen other versions of this recipe that uses duck as the main source of protein, will try this next time…
Cheesy, crispy hug in a bowl goodness!


")


